Discover how to efficiently maintain your Viking oven with self-cleaning features. Learn proper techniques for removing racks, protecting surfaces, and using the cycle effectively for optimal results.
1.1 Overview of the Viking Self-Cleaning Oven
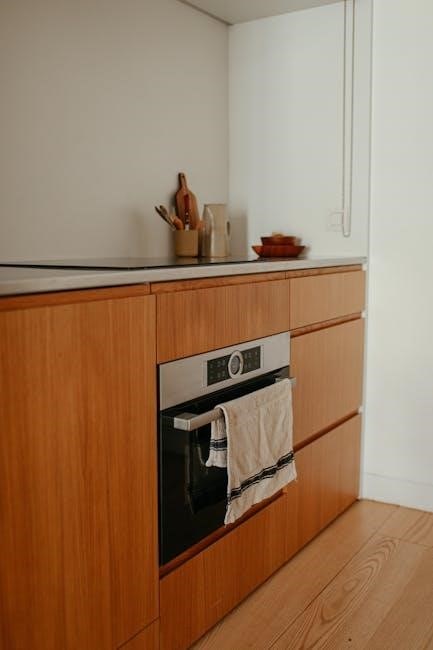
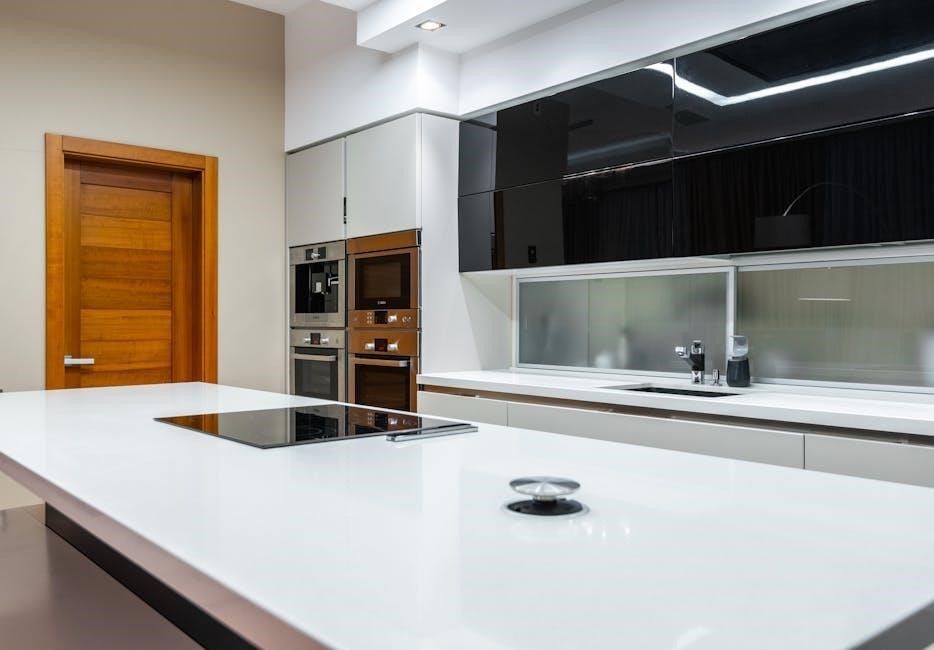
The Viking self-cleaning oven is designed to simplify maintenance with its advanced high-heat cleaning cycle. This feature effectively burns food residue, leaving a light ash that’s easy to wipe away. Regular use of the self-cleaning function ensures optimal performance and longevity of the appliance. The oven’s durable construction withstands extreme temperatures, making it ideal for heavy-duty cleaning. Proper preparation, such as removing racks and protecting surroundings, is essential for safe and efficient cleaning. By following the guidelines, users can maintain their Viking oven’s pristine condition and ensure it continues to deliver exceptional cooking results over time.
1.2 Importance of Proper Cleaning and Maintenance
Proper cleaning and maintenance are crucial for the longevity and efficiency of your Viking oven. Regular cleaning prevents food residue buildup, which can affect heating performance and lead to unpleasant odors. Neglecting maintenance may result in damaged components, such as igniters and racks, requiring costly repairs. Additionally, a clean oven ensures safer operation by reducing fire hazards from grease and debris. By adhering to recommended cleaning schedules and using the self-cleaning feature wisely, you can maintain your oven’s functionality, enhance cooking results, and extend its lifespan. Consistent upkeep also preserves the oven’s appearance, keeping it in like-new condition for years.
Preparing the Oven for Self-Cleaning
Ensure a safe and effective self-cleaning process by removing racks, utensils, and protecting floors. Avoid using foil to prevent damage during high heat cycles.
2.1 Removing Oven Racks and Utensils
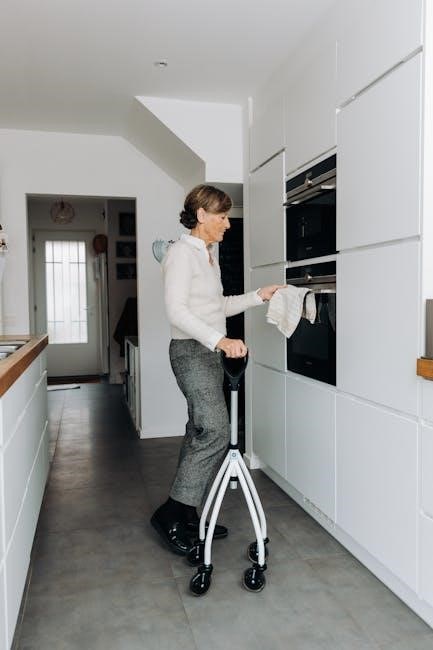
Before initiating the self-cleaning cycle, remove all oven racks, utensils, and accessories. The extreme heat can warp or discolor these items. Avoid using foil or liners, as they may melt or cause damage. Place racks in a sink of hot, soapy water to soak, especially for tough stains. For stubborn grime, add sudsy ammonia to the soak water. Ensure the oven is empty to allow proper airflow and even heating during the cycle. This step ensures safety and prevents damage to both the oven and its components.
2.2 Protecting the Floor and Surroundings
Before starting the self-cleaning cycle, protect your floor and surrounding areas from potential debris and heat damage. Place a heat-resistant mat, old towels, or a large sheet of cardboard on the floor in front of the oven. Cover nearby countertops and floors with drop cloths or newspaper to catch any ash or residue that may fall. Ensure the area is well-ventilated by opening windows or turning on an exhaust fan. This step prevents damage to your home and makes post-cleaning cleanup much easier. Proper protection ensures a safe and mess-free self-cleaning process for your Viking oven.
2.3 Cleaning the Oven Grates Before the Cycle
Cleaning the oven grates before the self-cleaning cycle is essential for optimal results. Remove the grates and place them in a sink filled with hot, soapy water. Allow them to soak for 15-20 minutes to loosen tough stains. For stubborn grime, add a cup of sudsy ammonia to the water. After soaking, scrub the grates with a stiff brush or scouring pad to remove residue. Rinse thoroughly and dry with a clean towel to prevent water spots. Clean grates ensure the self-cleaning cycle works effectively and prevents residue from hardening further. This step prepares your oven for a successful cleaning process.

Understanding the Self-Cleaning Cycle
The self-cleaning cycle uses high heat to burn food residue into ash. It typically runs at 800-900°F for 2-4 hours. Avoid using foil during the cycle.
3.1 How the Self-Cleaning Cycle Works
The Viking self-cleaning cycle uses high heat to burn food residue into ash. It operates at temperatures between 800°F and 900°F for 2-4 hours. During this process, food particles are reduced to a manageable residue, simplifying cleanup. The oven door locks to ensure safety and contain heat. Avoid using foil or liners, as they can melt or release harmful fumes. This intense heat breaks down tough grime, making post-cleaning wiping easier. Always follow manufacturer guidelines to ensure optimal performance and safety during the cycle.
3.2 Setting the Self-Cleaning Cycle
To activate the self-cleaning cycle on your Viking oven, press the Clean button and select the desired cycle type. Choose the temperature and duration based on the level of cleaning needed. Ensure the oven door is closed and the locking mechanism is engaged. The oven will automatically lock during the cycle to prevent opening. Use the control panel to confirm your settings and start the process. Always refer to your specific model’s user manual for precise instructions, as settings may vary slightly. Properly setting the cycle ensures effective cleaning and safety during the high-heat process.
3.3 Recommended Temperature and Duration
The Viking self-cleaning oven typically operates at high temperatures, often between 800°F and 900°F (427°C to 482°C), to effectively burn away food residue. The duration of the cycle varies depending on the level of cleaning required, ranging from 2 to 4 hours. For lighter cleaning, a shorter cycle may suffice, while heavily soiled ovens may require the maximum time. Always refer to your specific model’s guidelines for precise temperature and duration recommendations. The oven will automatically lock during the cycle to ensure safety. Allow the oven to cool completely before wiping down the interior for optimal results.
Safety Precautions During the Self-Cleaning Process
Ensure proper ventilation to avoid fumes. Never use foil or liners, as they can melt or catch fire. Protect skin and eyes from extreme heat exposure.
4.1 Ensuring Proper Ventilation
Proper ventilation is crucial during the self-cleaning cycle to prevent harmful fumes from accumulating. Open windows and doors to ensure good airflow. Use your kitchen exhaust fan to vent out smoke and odors. Avoid inhaling fumes, as they can cause respiratory discomfort. Keep the area well-ventilated throughout the cycle to maintain a safe environment. This step is essential for both safety and effectiveness of the cleaning process.
4.2 Avoiding the Use of Foil or Liners
Avoid using foil or liners during the self-cleaning cycle, as they can melt, warp, or leave residue. Foil may discolor or damage the oven’s interior at high temperatures. Liners can burn, creating toxic fumes. These materials interfere with the cleaning process and may require additional effort to remove. Always ensure the oven is free of such items before starting the cycle to prevent damage and maintain the oven’s finish. This precaution ensures a safe and effective cleaning experience.
4.3 Protecting Skin and Eyes from Heat
During the self-cleaning cycle, the oven reaches extremely high temperatures, posing a risk of burns and eye irritation. Always wear heat-resistant gloves and protective eyewear when handling the oven or its components. Keep a safe distance from the oven door to avoid exposure to intense heat and fumes. Ensure the kitchen is well-ventilated to prevent the accumulation of harmful vapors. Never touch the oven surfaces or racks during or immediately after the cycle, as they remain extremely hot. Proper precautions will help safeguard your skin and eyes from potential harm caused by the high heat generated during cleaning.
Post-Cleaning Procedures
After the self-cleaning cycle, allow the oven to cool completely before wiping down the interior with a damp cloth. Clean racks and grates separately for optimal results.
5.1 Allowing the Oven to Cool Down
After the self-cleaning cycle, it’s crucial to let the oven cool down completely. This prevents accidental burns and ensures the interior doesn’t crack from sudden temperature changes. Open windows for ventilation to remove any lingering fumes. Avoid touching the oven surfaces until they’ve returned to room temperature. This step is essential for safety and maintaining the oven’s condition. Once cooled, you can proceed with wiping down the interior and cleaning racks. Proper cooling ensures a safe and effective cleaning process.
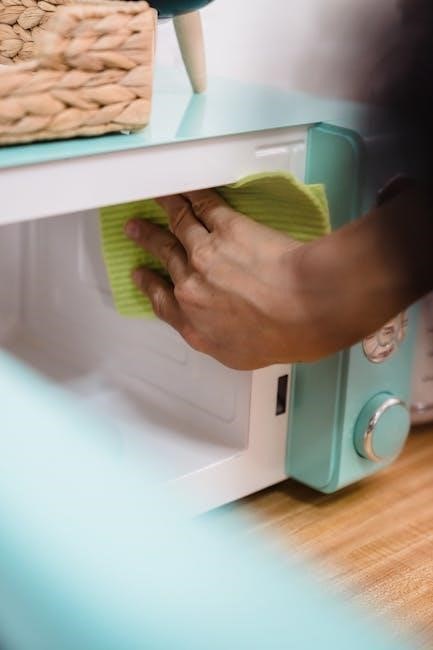
5.2 Wiping Down the Oven Interior
Once the oven has cooled, use a damp cloth to wipe down the interior surfaces, removing any food residue or ash. For tougher stains, mix baking soda and water to create a paste, applying it to affected areas. Avoid using abrasive cleaners or scrubbers, as they may damage the finish. Instead, opt for a mild soap solution. Rinse the cloth thoroughly and wipe away any cleaning solution to prevent streaks. Dry the interior with a clean towel to prevent water spots. This step ensures a clean and polished finish, preparing your Viking oven for its next use.
5.3 Cleaning the Oven Racks and Grates
After the self-cleaning cycle, remove the racks and grates and place them in a sink filled with hot, soapy water. Let them soak for 15-20 minutes to loosen grime. For tougher stains, add a cup of sudsy ammonia to the water. Use a soft sponge or brush to scrub away residue, avoiding abrasive materials that could scratch the surfaces. Rinse thoroughly with warm water and dry with a clean towel to prevent water spots. Regular cleaning prevents food buildup and maintains the racks’ and grates’ condition, ensuring optimal performance for your Viking oven.
Handling Tough Stains and Grime
Tackle stubborn stains with soapy water and sudsy ammonia. Soak grates, scrub gently, and rinse thoroughly to maintain your Viking oven’s efficiency and appearance.
6.1 Using Soapy Water for Grates
For tough stains on grates, soak them in hot, soapy water for 15-20 minutes. This method gently loosens grime without damaging the finish. After soaking, scrub with a soft sponge or brush, then rinse thoroughly. This approach prevents harsh chemicals and maintains the grates’ condition. Regular cleaning with soapy water keeps your Viking oven grates clean and functional, ensuring optimal performance during cooking. Avoid abrasive materials to prevent scratching the surfaces. This simple, eco-friendly method is effective for daily maintenance and prepares grates for the self-cleaning cycle.
6.2 Applying Sudsy Ammonia for Stubborn Stains
For stubborn stains on grates, add a cup of sudsy ammonia to hot, soapy water during soaking. This powerful cleaner breaks down tough grime and food residue effectively. After soaking, scrub the grates with a soft brush or sponge, then rinse thoroughly. Sudsy ammonia is ideal for deep cleaning without damaging the finish. Always wear gloves and ensure good ventilation when using ammonia-based products. This method is particularly useful for grates with heavy buildup, ensuring they are restored to their original condition. Regular use of sudsy ammonia keeps your Viking oven grates clean and maintains their performance over time.
6.3 Drying Grates After Cleaning
After cleaning, thoroughly dry the grates using a soft, lint-free cloth or paper towels to prevent water spots. For optimal results, allow them to air dry completely before reinstalling. This step ensures no moisture remains, which could interfere with future cooking performance. Regular drying also helps maintain the grates’ finish and prevents rust. For tougher water spots, gently buff with a clean, dry cloth. Proper drying is essential to keep your Viking oven grates in pristine condition and ensure longevity. Always store grates in a dry place when not in use to avoid moisture buildup.
Maintenance Tips for the Viking Oven
Regularly clean racks and grates to prevent food buildup. Check igniters for wear and replace as needed. Maintain oven filters to ensure optimal performance and efficiency.
7.1 Regular Cleaning to Prevent Build-Up
Regular cleaning is essential to prevent food residue and grime from building up in your Viking oven. After each use, wipe down surfaces with a damp cloth to remove splatters and spills. For tougher stains, mix baking soda and water to create a paste, apply it to the affected areas, and let it sit overnight before scrubbing. This routine maintenance will prevent stubborn buildup and ensure your oven continues to perform efficiently. Additionally, cleaning the racks and grates regularly will keep them in good condition and maintain the oven’s overall hygiene and functionality.
7.2 Checking and Replacing Igniters
Regularly inspect your Viking oven’s igniters to ensure proper function. If you notice clicking sounds, slow ignition, or failure to light, it may be time to replace them. Turn off the power and let the oven cool before accessing the igniters. Use a screwdriver to remove the old igniter and install a new one, ensuring it’s securely connected. Always use genuine Viking replacement parts for compatibility and safety. Replacing worn-out igniters will restore your oven’s performance and prevent further issues. This simple maintenance step can significantly extend the lifespan of your appliance and maintain its efficiency.
7.3 Maintaining the Oven Filters
Regularly inspect and clean your Viking oven filters to ensure optimal performance. Grease and food particles can accumulate, reducing ventilation and efficiency. Remove the filters and soak them in hot, soapy water. Scrub gently to remove stubborn grime, then rinse thoroughly. If damaged or worn, replace the filters with genuine Viking parts. Properly maintained filters enhance airflow, reduce odors, and prevent grease buildup. Cleaning or replacing filters as needed will keep your oven running efficiently and prolong its lifespan. Always refer to your Viking oven manual for specific filter maintenance recommendations tailored to your model.
Troubleshooting Common Issues
Addressing common Viking oven issues ensures optimal performance. Check igniters for wear, diagnose error codes, and eliminate odors by cleaning thoroughly. Regular maintenance prevents major problems.
8.1 Why the Oven May Not Heat Properly
If your Viking oven isn’t heating properly, it could be due to faulty igniters or clogged burners. Igniters may wear out over time, preventing the gas from lighting. Clean burners regularly to ensure proper gas flow. Additionally, check for blockages in the venting system, as restricted airflow can hinder heating efficiency. If issues persist, consider replacing worn-out igniters or consulting a professional for a thorough inspection. Regular maintenance can prevent such problems and ensure your oven operates at its best.
8.2 Diagnosing Error Codes
Error codes on your Viking oven indicate specific issues. Refer to your user manual to identify the code’s meaning, as they vary by model. Common codes relate to heating elements, sensors, or ignition problems. If an error appears, restart the oven to see if it resolves. If the code persists, check for faulty igniters, clogged vents, or malfunctioning sensors. Cleaning the vents or replacing igniters may fix the issue. For complex codes, consult a professional to avoid further damage. Regular maintenance, like cleaning burners and checking connections, can prevent errors and ensure smooth operation. Always follow manufacturer guidelines for repairs.
8.3 Addressing Unpleasant Odors
Unpleasant odors in your Viking oven often result from food residue and grime. After the self-cleaning cycle, wipe down the interior with a damp cloth to remove ash and residue. For lingering smells, mix baking soda and water to create a paste, apply it to interior surfaces, and let it sit overnight before wiping clean. Ensure proper ventilation during and after cleaning to prevent fumes. Regularly cleaning up spills and food particles can help minimize odors. If the smell persists, check for blockages in vents or drip pans and clean them thoroughly. Consistent maintenance keeps your oven fresh and odor-free.
Eco-Friendly Cleaning Practices
Opt for natural cleaning alternatives like vinegar or lemon juice to reduce chemical use. Always dispose of cleaning materials responsibly to minimize environmental impact and promote sustainability.
9.1 Using Environmentally Safe Cleaning Agents
For eco-friendly cleaning, opt for non-toxic and biodegradable agents. White vinegar, lemon juice, and plant-based cleaners are effective alternatives to harsh chemicals. These options reduce environmental impact while maintaining cleaning efficiency. Avoid abrasive substances that can harm the oven’s finish. Instead, choose products labeled as EPA Safer Choice certified, ensuring they meet environmental standards. Always follow the manufacturer’s instructions for proper use. Natural cleaning agents not only protect the environment but also ensure a safer kitchen space for your family. By selecting eco-conscious products, you contribute to sustainability without compromising on cleanliness.
9.2 Minimizing Chemical Use During Cleaning
Minimizing chemical use during oven cleaning is essential for reducing environmental impact and ensuring a healthier home. Opt for natural alternatives like microfiber cloths and water to wipe down surfaces. For tougher stains, mix baking soda and water to create a paste, avoiding harsh chemicals. Always choose eco-friendly cleaning products when necessary, and follow the recommended dilution instructions. Avoid using abrasive cleaners that can damage the oven’s finish. By reducing chemical use, you protect both the environment and your family’s well-being while maintaining your Viking oven’s performance and longevity.
9.3 Proper Disposal of Cleaning Materials
Proper disposal of cleaning materials is crucial for environmental safety. After cleaning your Viking oven, dispose of soiled water, chemical solutions, and paper towels responsibly. Check local regulations for hazardous waste disposal, as some cleaning agents may require special handling; Ensure all containers are thoroughly rinsed and recycled if possible. Never pour cleaning solutions down drains or mix them with other household waste. By following these steps, you help protect the environment and maintain a safe, eco-friendly cleaning routine for your Viking oven.
Proper maintenance and eco-friendly practices ensure your Viking oven remains efficient and long-lasting. Follow guidelines for a safe, clean, and environmentally responsible cooking experience.
10.1 Summary of Key Cleaning Steps
For optimal results, remove racks and utensils before the self-cleaning cycle. Protect floors and surroundings from debris. Use soapy water or sudsy ammonia for tough stains on grates. Avoid foil or liners, as they can damage the oven. Ensure proper ventilation and skin protection during the cycle. After cleaning, let the oven cool, then wipe down the interior. Regular maintenance, like checking igniters and filters, prevents build-up and ensures efficiency. Follow eco-friendly practices by using safe cleaning agents and minimizing chemical use. Proper disposal of materials completes the process, keeping your Viking oven clean, efficient, and long-lasting.
10.2 Final Tips for Maintaining Your Viking Oven
Regularly clean your Viking oven to prevent grime buildup. Check and replace igniters to ensure proper heating. Use environmentally safe cleaning agents to minimize chemical exposure. Properly dispose of cleaning materials to maintain eco-friendliness. For tough stains, consider occasional deep cleaning with soapy water or sudsy ammonia. Always dry grates thoroughly after cleaning to prevent rust. Maintain oven filters for optimal performance. By following these tips, you’ll extend the life of your Viking oven, ensuring it remains efficient and reliable for years to come. Consistent care will keep your oven in pristine condition, ready for everyday use.